Mushroom Wreath
- Callisto
- Apr 10, 2024
- 3 min read
Updated: Apr 11, 2024
I love mushrooms! What better way to express mushroom love and ‘cottagecore’ style than with a mushroom wreath?

This tutorial takes a while and is a long process, because there are many elements and lots of drying time. First thing is first, we have to actually have the mushrooms so time to make some!
I started with five types but I decided to use two of them on this wreath. Sometimes simple is better.

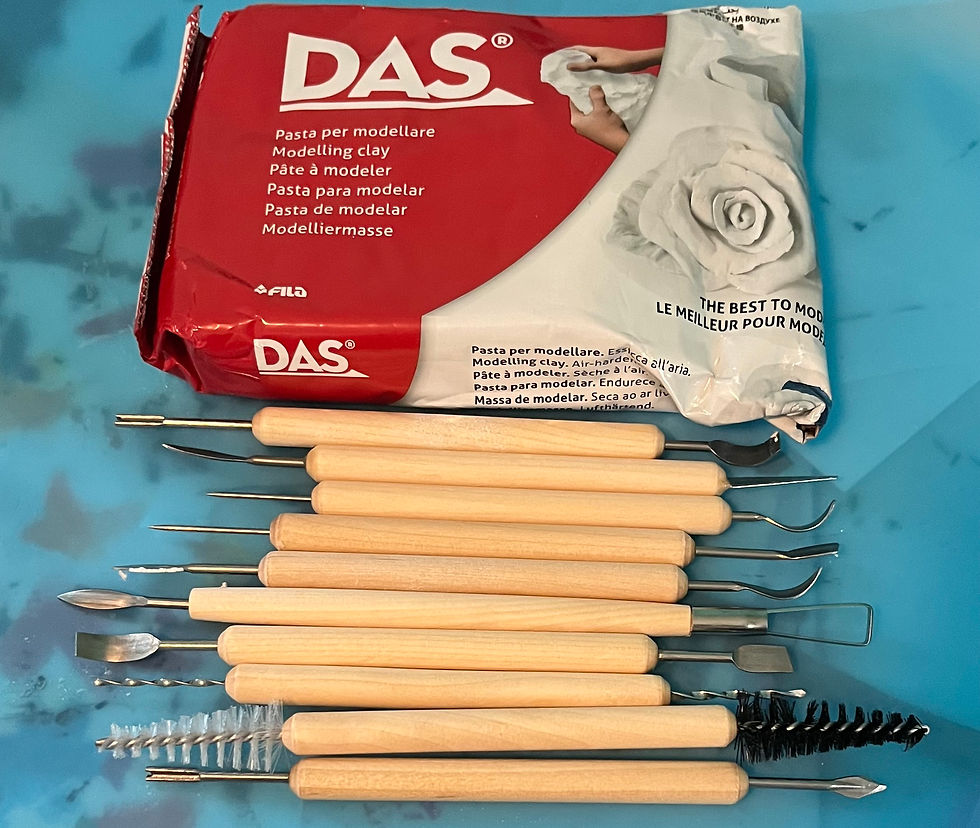
For mushroom materials I used air dry clay and then some wooden dowels for stems. You can use clay for the stems as well, but I found the dowels to be more sturdy.

Let’s start with the red mushroom! First, I cut out the stems to mold the clay around.

I shaped the top around the stem, using the picture as reference for size and shape.

For the underside I sculpted it a bit as they have those gills.

They also have some texture that comes down to about halfway on the stem, so I sculpted that too around the stem.

Now all the clay needs to dry completely. Then it’s time to add some color! I pained the stem, and under cap white, the top red. Once all parts dried, I glued the mushroom together with hot glue.

(I forgot the spots, don’t worry I add them later!)

Now to make the shelf mushrooms! Start out with a template on paper that you’ll use to get the right shapes.

Cut out the shapes.

Roll out some clay, kind of thick, lay the template on top and cut around it. You want them to be thick and sturdy.


Now shape the clay a bit to look like the mushroom, the way that it starts thick and decreases in thickness towards the edge and gets rounded.

Let it dry completely, it might take longer due to the thickness.

Painting time! Add a base coat, color matching pictures of the mushroom as best you can.

Add the details, again looking at the picture. It doesn’t have to be exact or even super realistic, it’s just for fun!

Now you have the completed mushrooms so time to prep the wreath. I found a cool stick wreath that is medium sized at the craft store. You want it to be as nature like as you can.

For the mushrooms that will be glued in, I added a foam platform for them to be straight on. I covered it with straw as pictured above. It’s a bit tricky but if you take a foam wreath and cut it up you can configure the wreath layout the way you want. It's a little easier if the foam wreath is the same size as your base wreath. This is completely optional but I wanted my mushrooms to stand up straight so they needed a flat surface to be glued on.
You’ve got your wreath ready, your mushrooms, so now you put it all together. You will need some moss, fake plants, and foliage to cover up the glue and add some nice accents. I first glued the mushrooms on, then used the foliage to cover the glue spots. You can actually look at a previous wreath post of mine to see more about how to do this. I also used this time to touch up the paint on the mushrooms because as I said, I forgot the very important white spots!

Once you have covered all the glue and gotten that cool ‘cottagecore’ nature feel to the wreath, you can hang it up and admire your hard work!

Comments