Who doesn’t love cake?! Especially a birthday cake! This is a fun and decorative Harry Potter themed ornament that you can hang up.

For reference I found a pretty clear picture of Harry’s cake from Hagrid. This is what I used to determine the shape, details, and lettering. I tried to make it as accurate as I could.

I started with the box. The size of the box would determine the size of my cake. I decided to make my own box so I could make the size I wanted with the right look. It’s easier than you think to make a box using a box template and some nice thick craft paper for that cardboard look.

I wanted something small. The bottom of my box ended up being about 2”x 2” but you can make it any size you want. The bigger the box the bigger the cake and the heavier it will be. I printed the box template and cut it out and then traced it onto a thick cardstock craft paper. You can also use very thin cardboard for this, as long as it’s something you can make clean folds with. (HINT: Use pencil, because you can erase the lines if you want.) I folded the box according to my template and glued it together using paper craft glue.

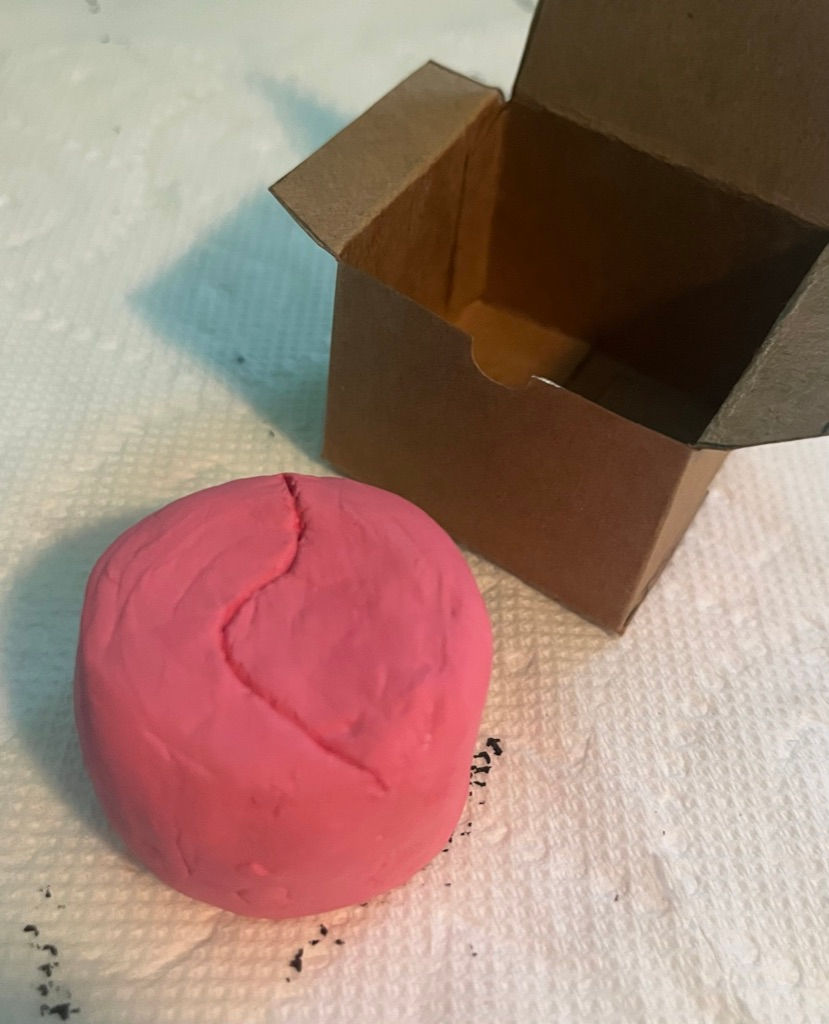
For the cake itself I used clay. Clay is simple to work with and you can get the textures and lines you need for this particular cake. I shaped it into a cake and then used clay tools to mimic the unique lines of the movie cake. It’s also important to test that it will fit in the box you made before you wait for it to dry.

Color time! Pink!

For the letters I started with an outline in pencil on the cake. This was an essential step because spacing is important with lettering. “Happee Birthdae Harry!”

Frosting is dimensional, it isn’t just painted on flat, so a great way to get that effect is to use “puffy” fabric paint. The tip of the bottle I used also helped with making the lines of the lettering more precise and easier to follow. (Test it out a few times on paper before putting it right onto your cake.)

While this can be an ornament for a tree I wanted to put mine on the wall. No matter where you hang it, it needs a hanger! I poked two holes in the back of my box and then took some sturdy brown string and threaded it through. I tied it in a nice bow to make a loop.

Time to glue, always a fun part. For my cake I wanted it to be really secure because the clay can tend to get a bit heavy depending on the size you’re working with. To make it more secure I glued it to a square of cardboard that would fit into the bottom of my box. Then glued that into my box and let it dry.
(This step is not strictly necessary depending on the material you used to make your box. I found for me that it helps the box keep shape because I used thick craft paper and not actual cardboard.)
Once it’s completely dry and you make sure it’s really secure, hang it up.
**If you want to make this as a birthday gift for someone, or for yourself, change the name! Depending on the name length you might have to do some adjusting. If it’s a long name you can use acrylic paint with a fine brush for the lettering instead of the thicker lines that puffy paint creates. It won’t be as dimensional BUT they will still love it!

Comments